
Journey Of A Batch, Part 2: Press Brake Forming Stainless Steel Awning Brackets
Part two of our workshop series: press brake forming turns flat laser-cut profiles into the shaped stainless components that give LoadBear brackets their strength.
The same batch of laser-cut blanks moves on to the press brake. We’re bending 4mm stainless to spec, checking every angle, and stacking finished profiles ready for welding.
Watch the press brake in action
We have several presses ranging from 16 ton up to over 100 ton of bending force. After months of development we settled on 4mm stainless steel for our awning brackets. It’s a high tensile, corrosion resistant material, and at times demands well over 100 ton of force to form. We keep an extensive tooling library and pick the right tools for each job, matched to material thickness and tensile strength.
Forming 4mm stainless on the press brake.
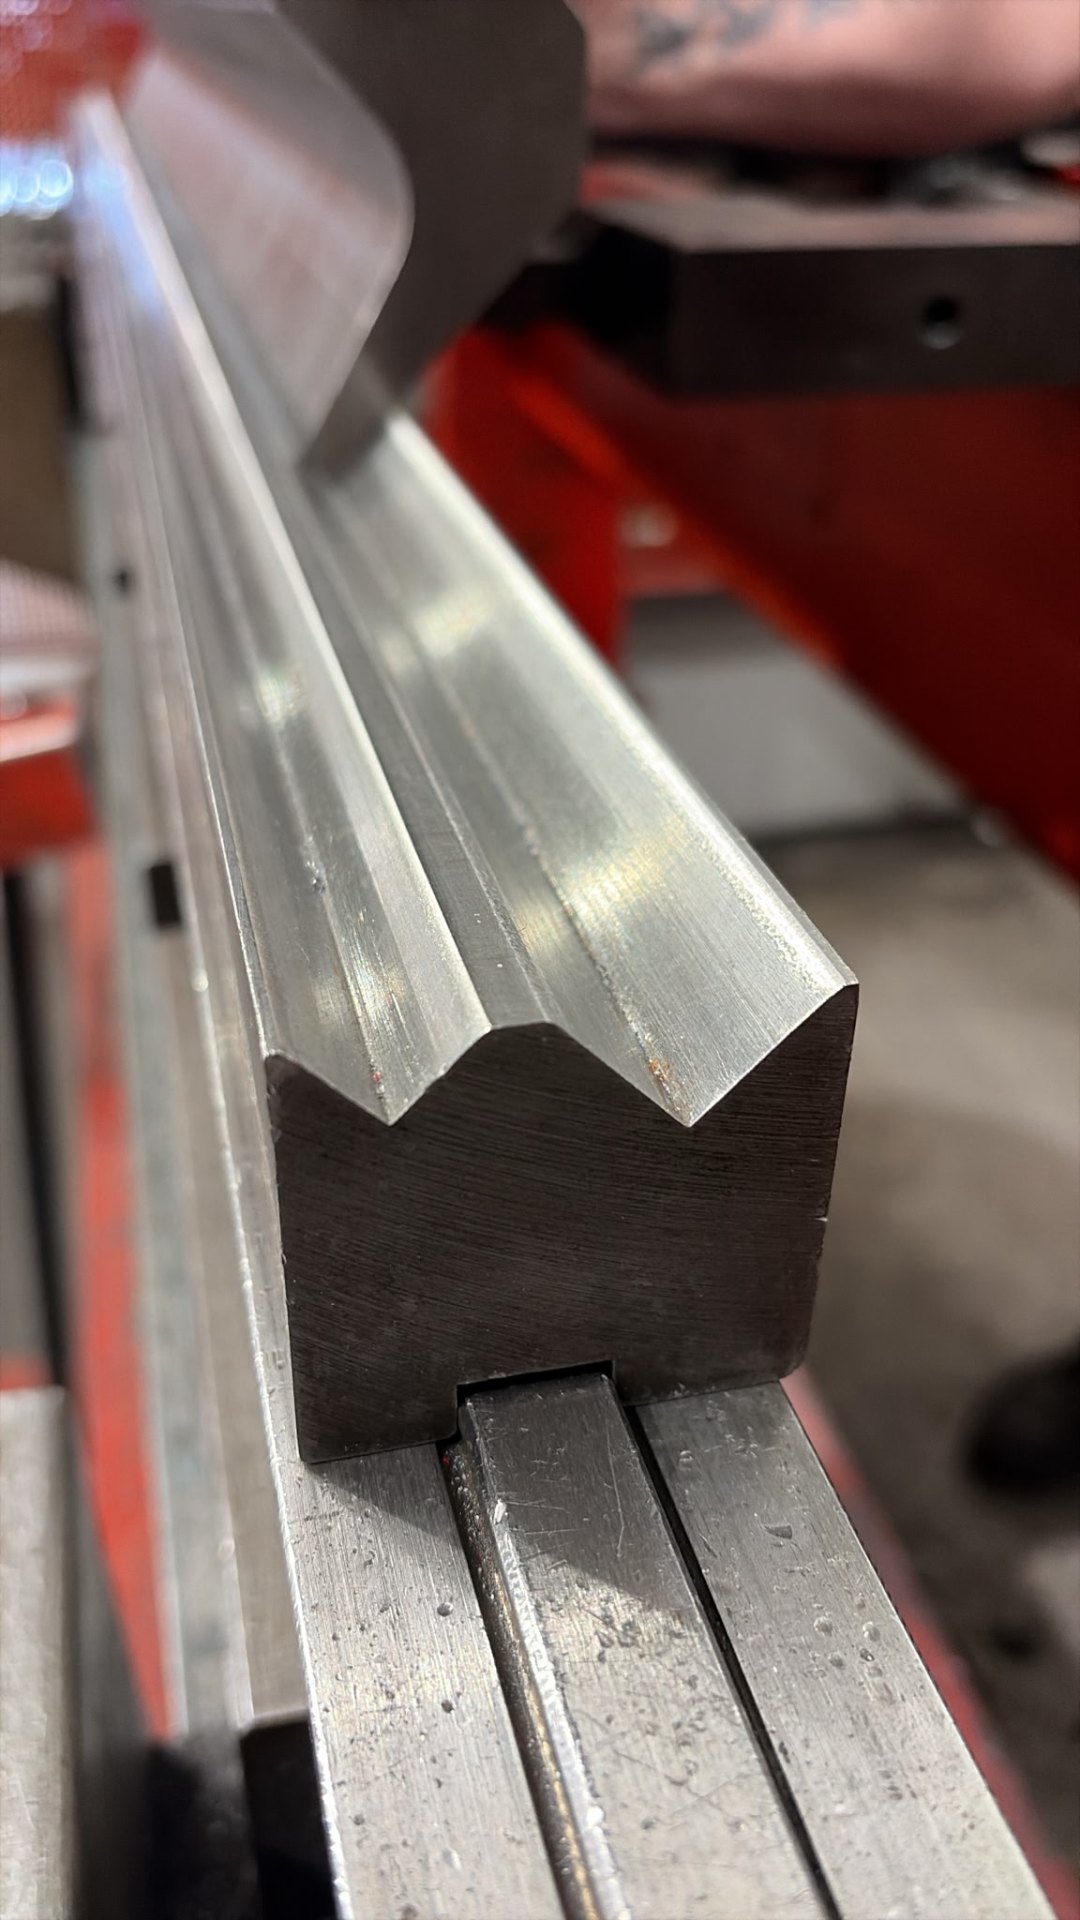
The right tool for the job, chosen from our in-house library.
From Laser Blank To Finished Profile
Skilled, experienced staff program the press brake from our engineering drawings, take the blanks cut in-house by our own laser here in Birmingham UK, and form them into the profiles we designed on our own CAD packages. There’ll be a design blog at the end of this series too.
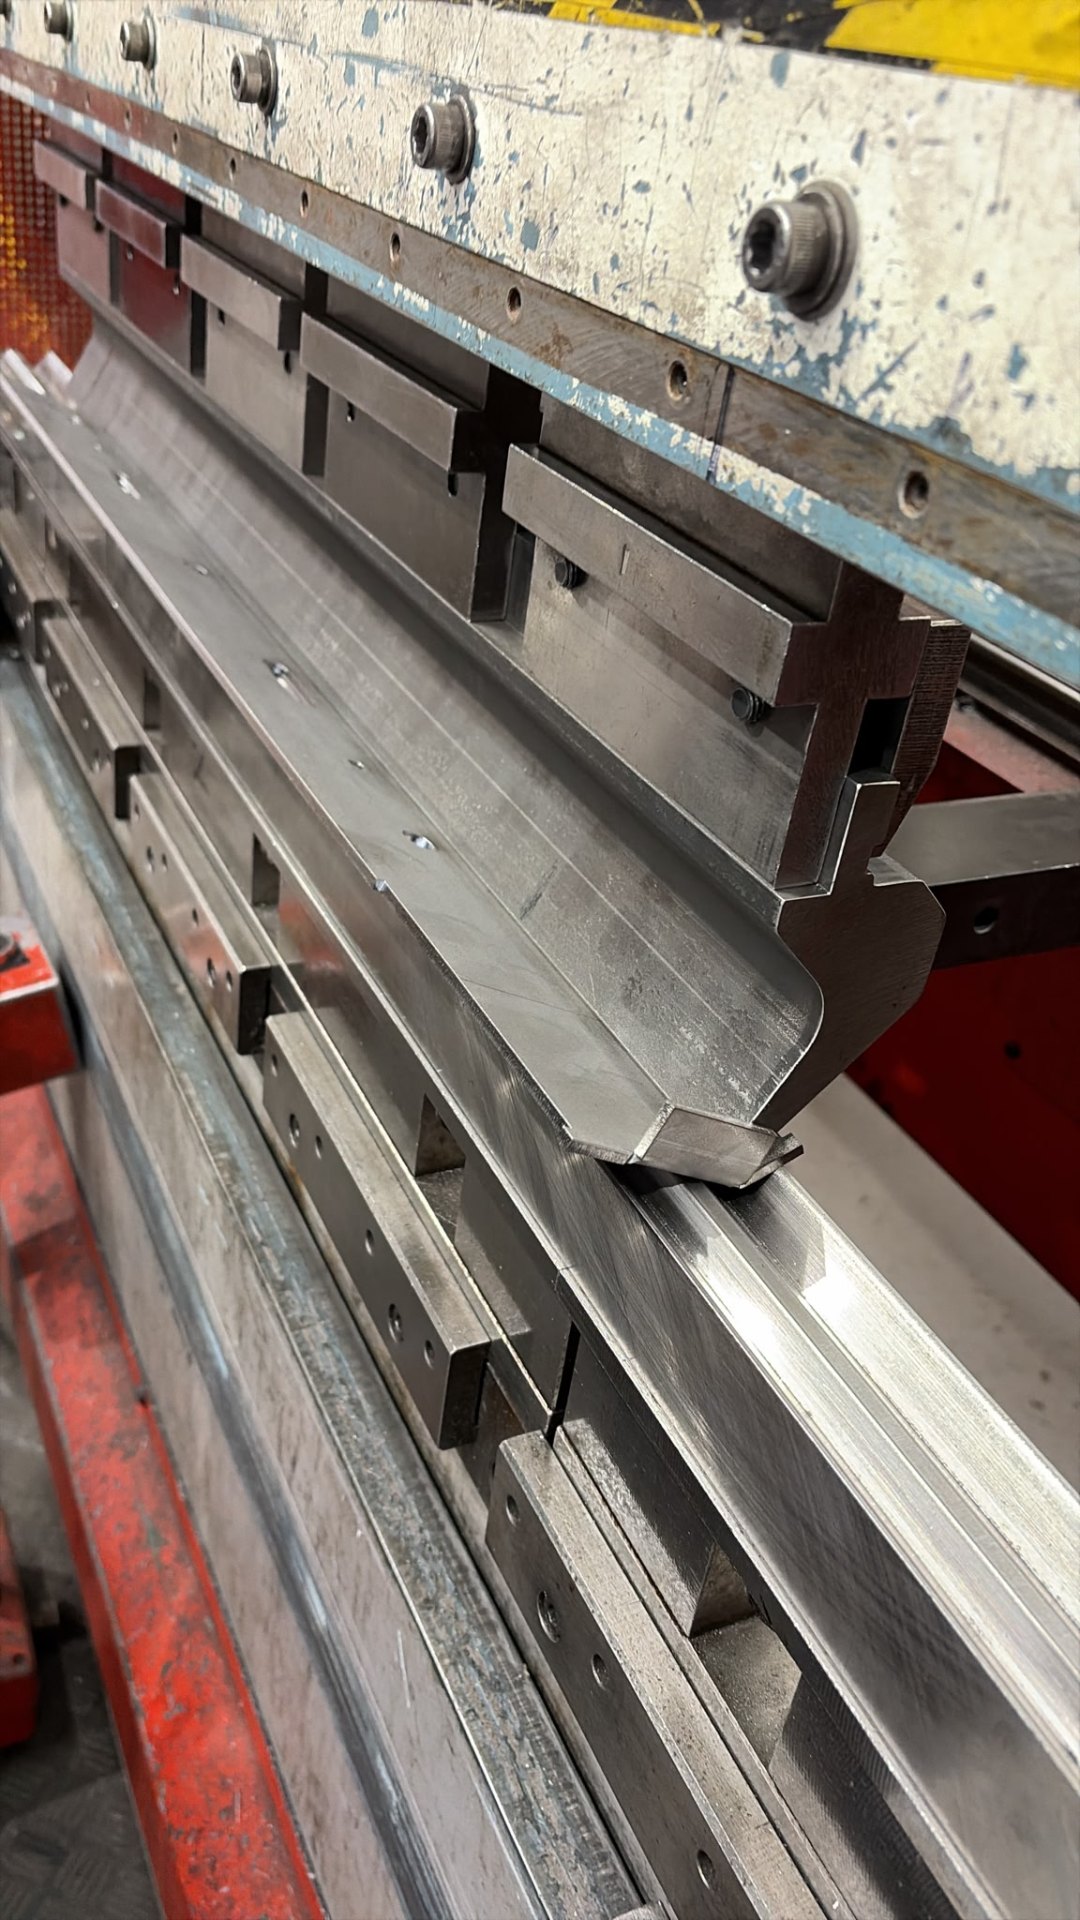
A long stainless profile being formed on the press brake.
Quality Control At The Machine
Formed parts are checked as part of our internal QC process for angle and dimensional accuracy. Any adjustments to compensate are made by the operator at the machine, and re-checked after each adjustment is input. All measuring equipment is calibrated in line with our ISO standards. We carry ISO 9001, ISO 14001 and ISO 45001.
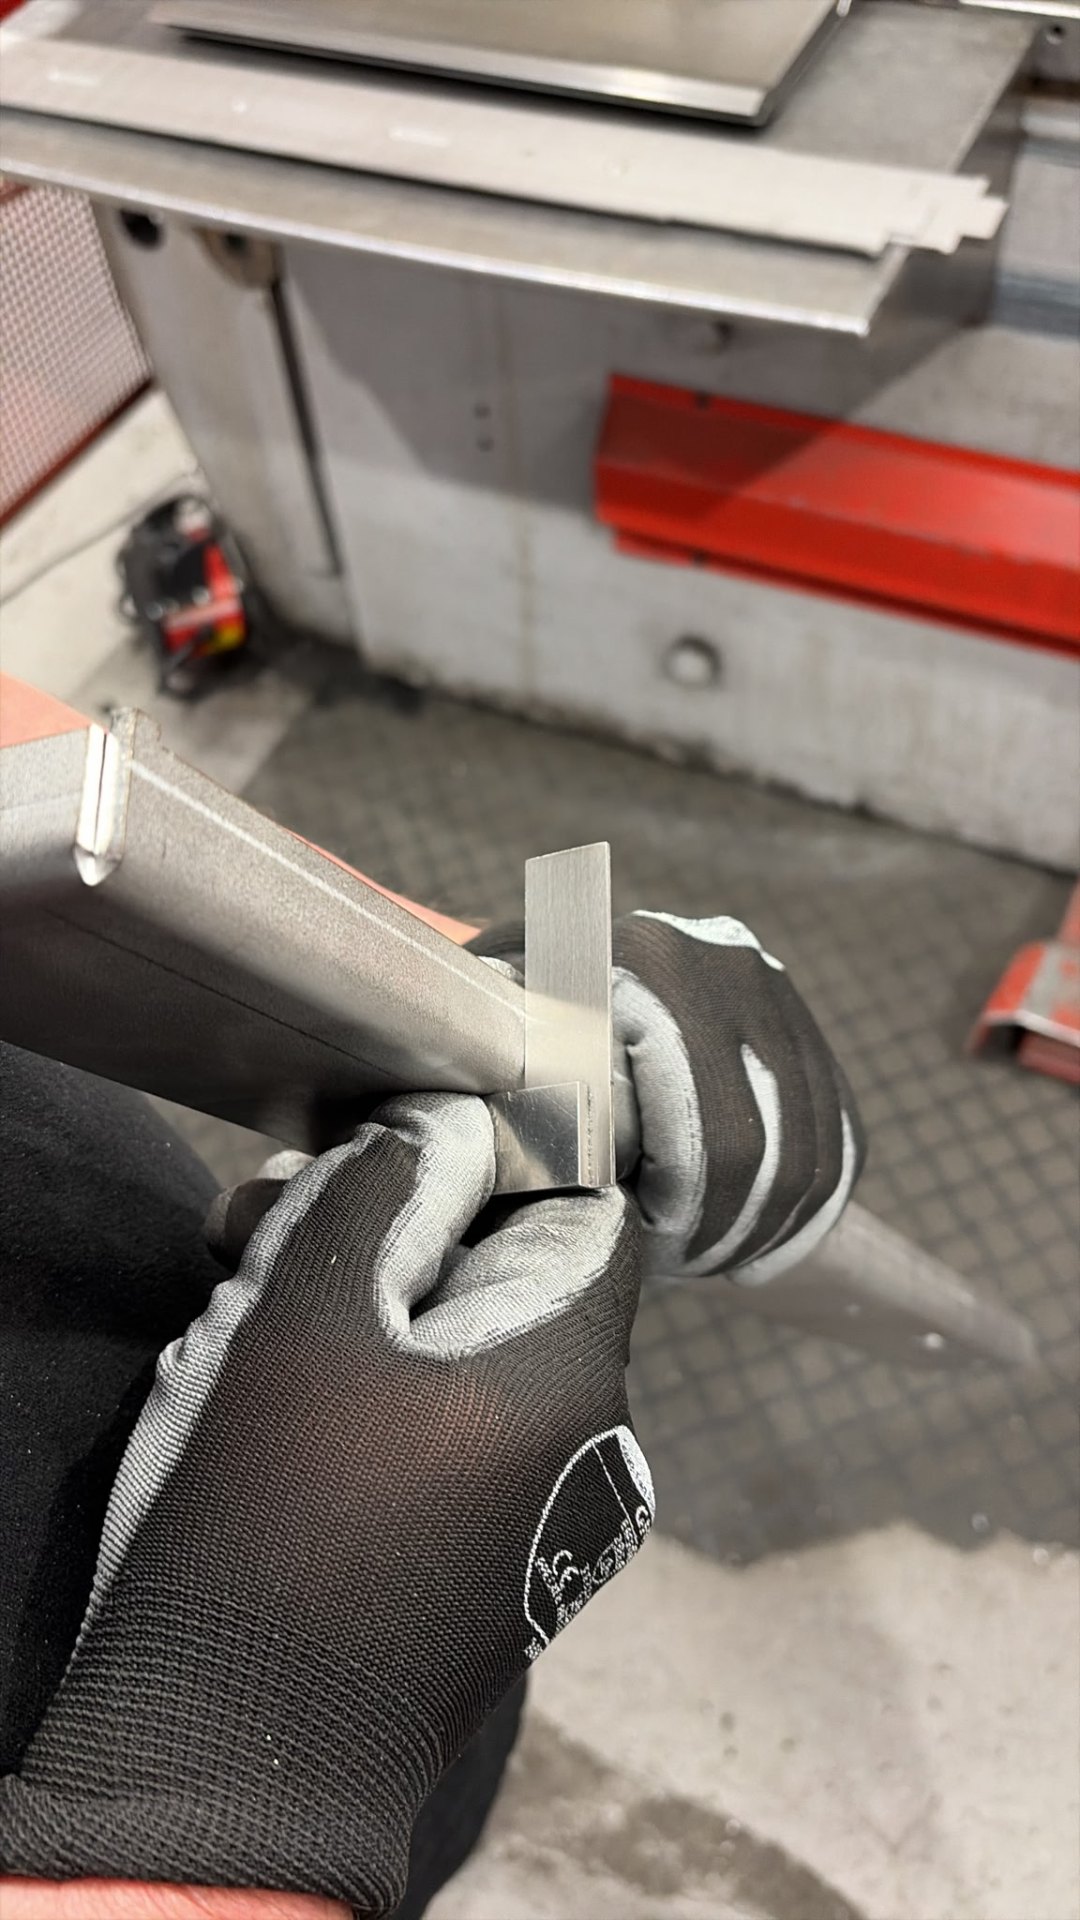
Checking bend angle on a freshly formed part.
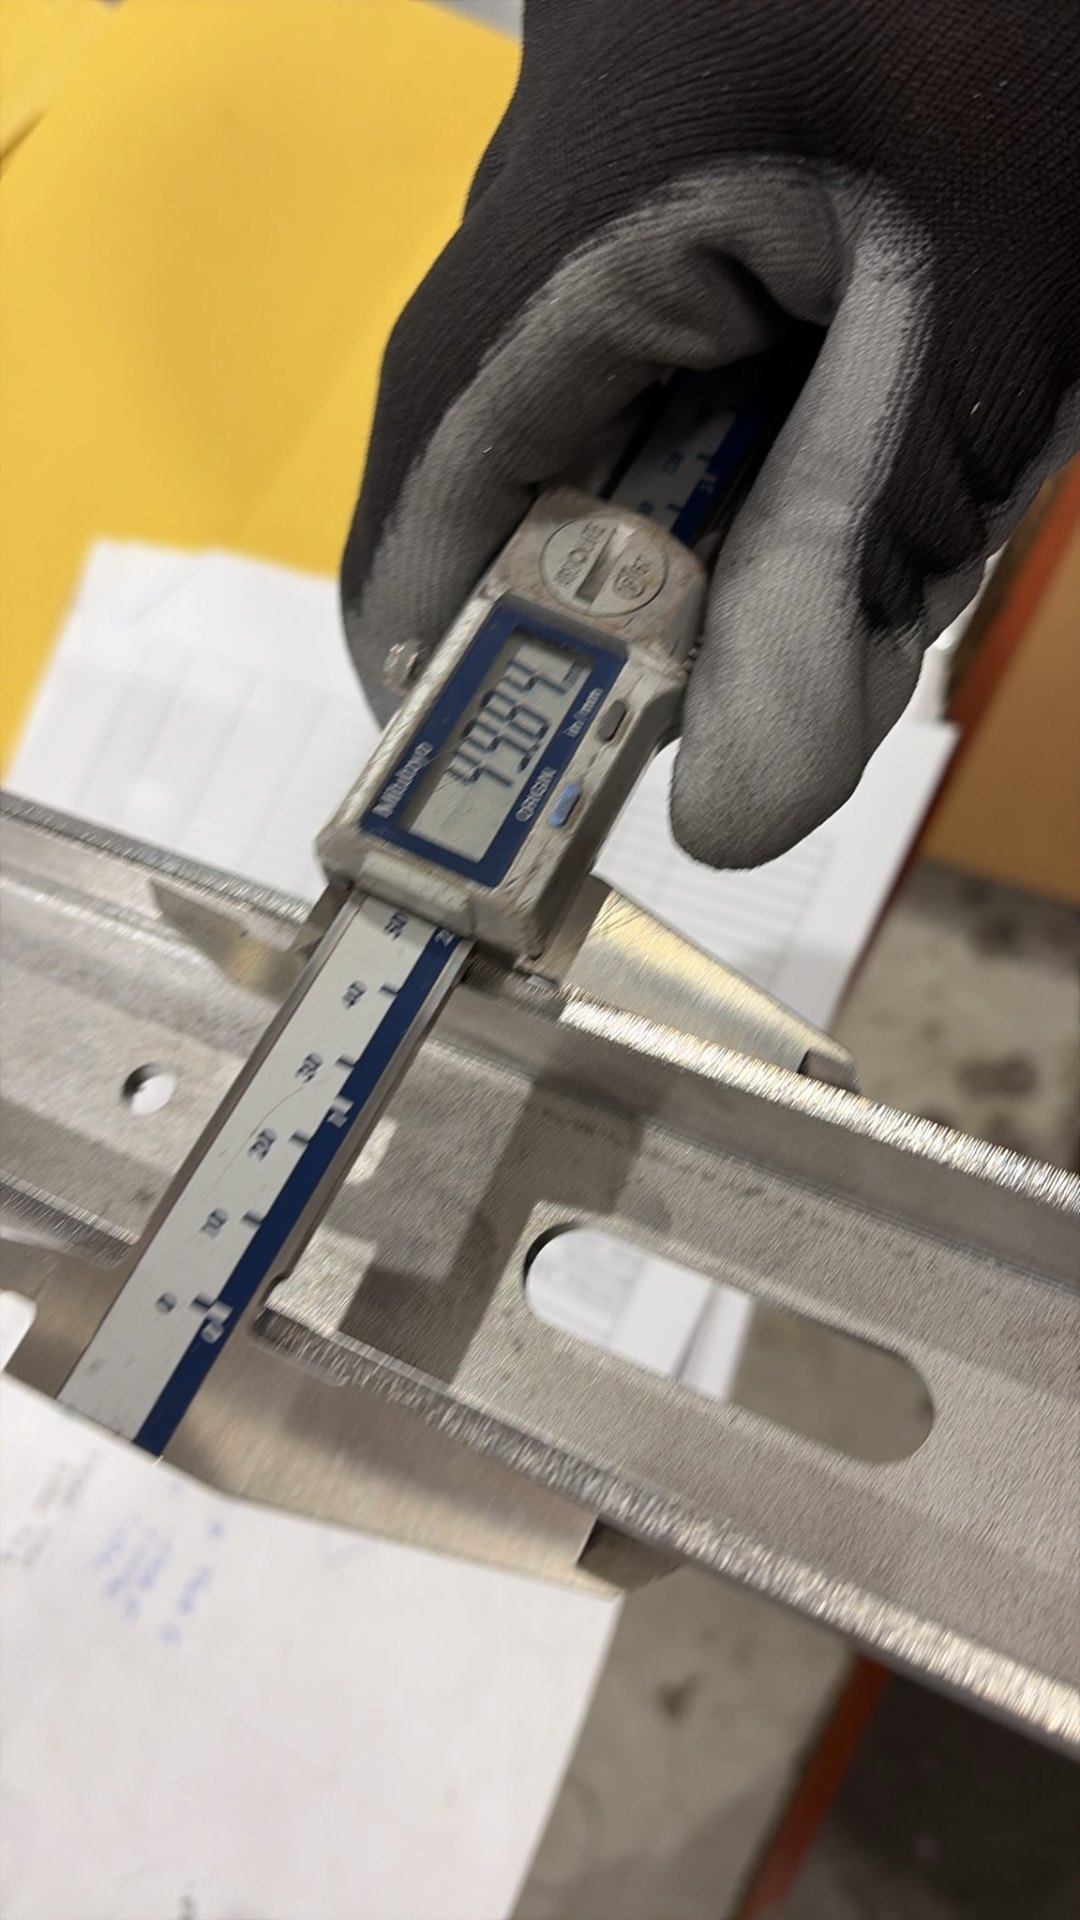
Digital calipers verifying dimensional accuracy against the drawing.
Ready For Welding
Once formed, the blanks move on to the next stage of manufacturing. Below is a run of spreaders and gutter bracket parts all ready for welding. You’ll notice the holes and slots at 150mm centres, designed to fix solid to the wall using resin anchors.
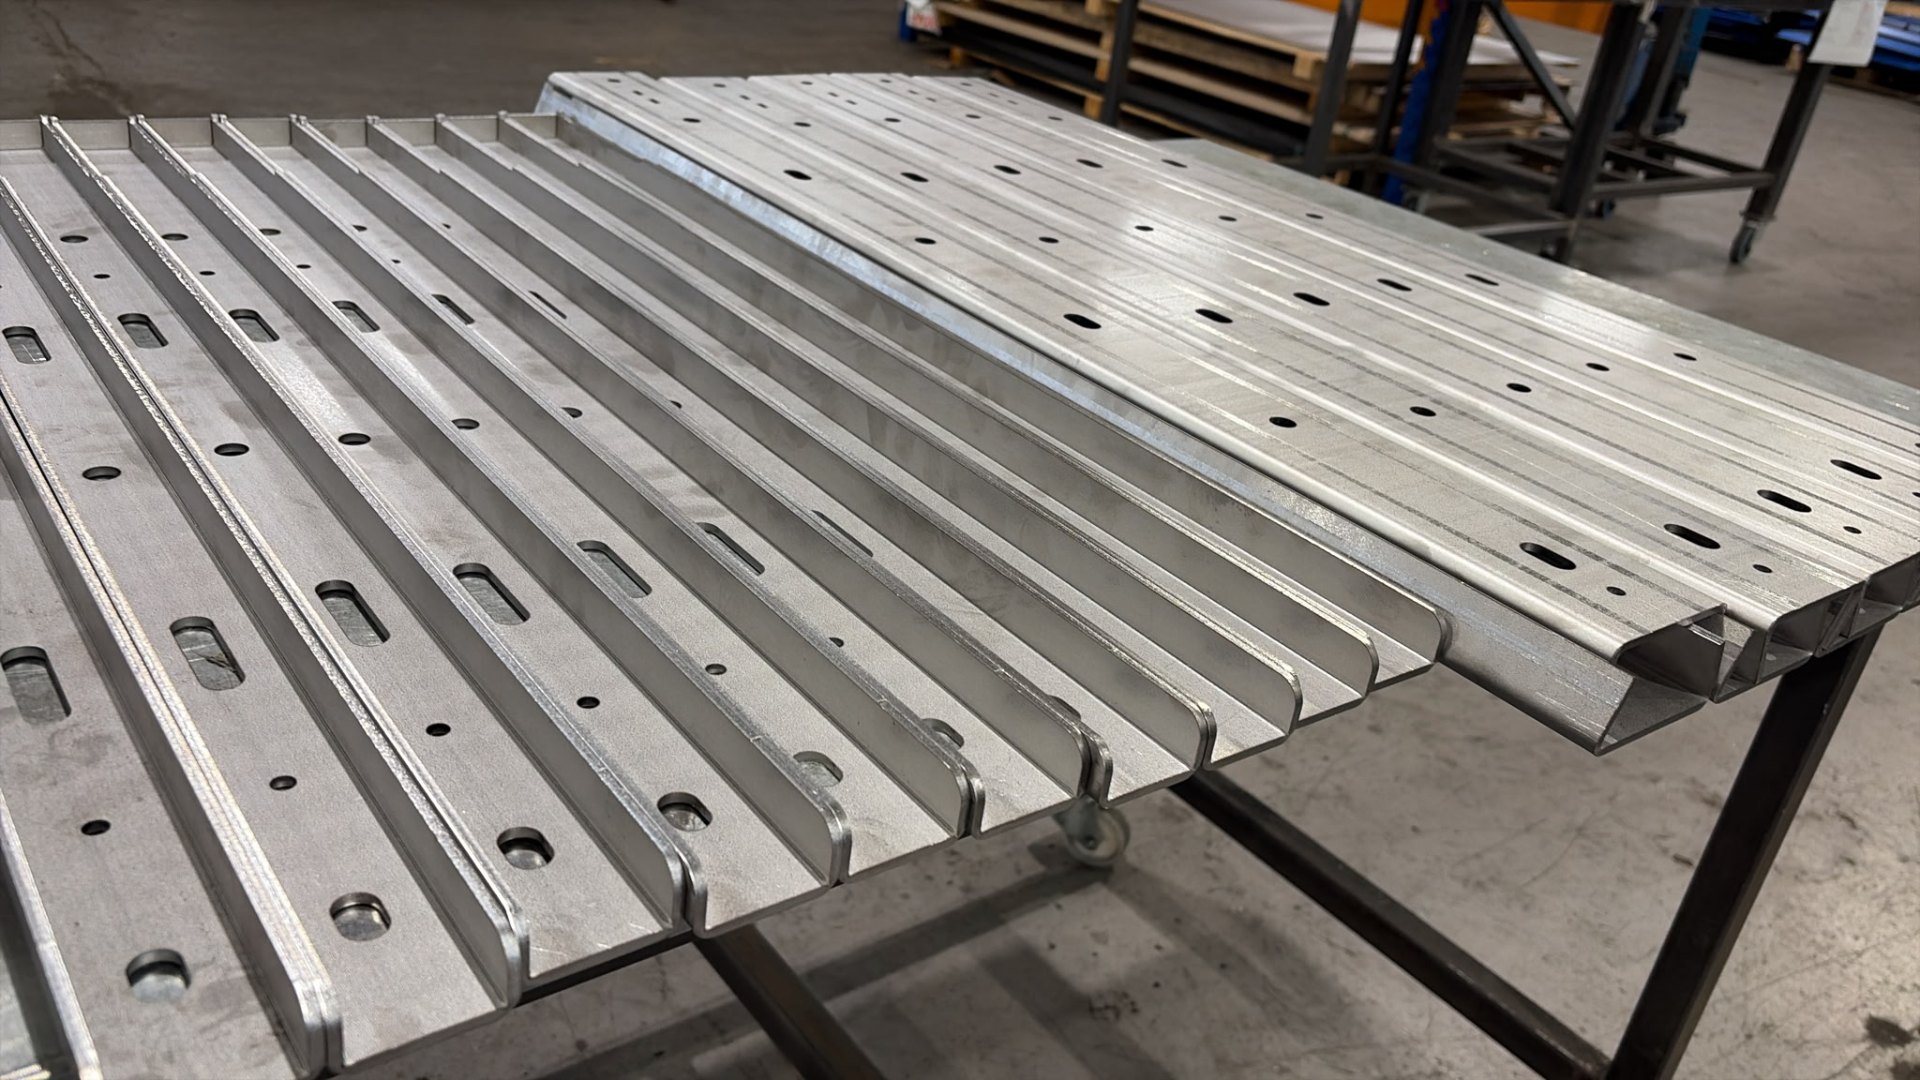
A full run of formed parts staged for the welding bay.
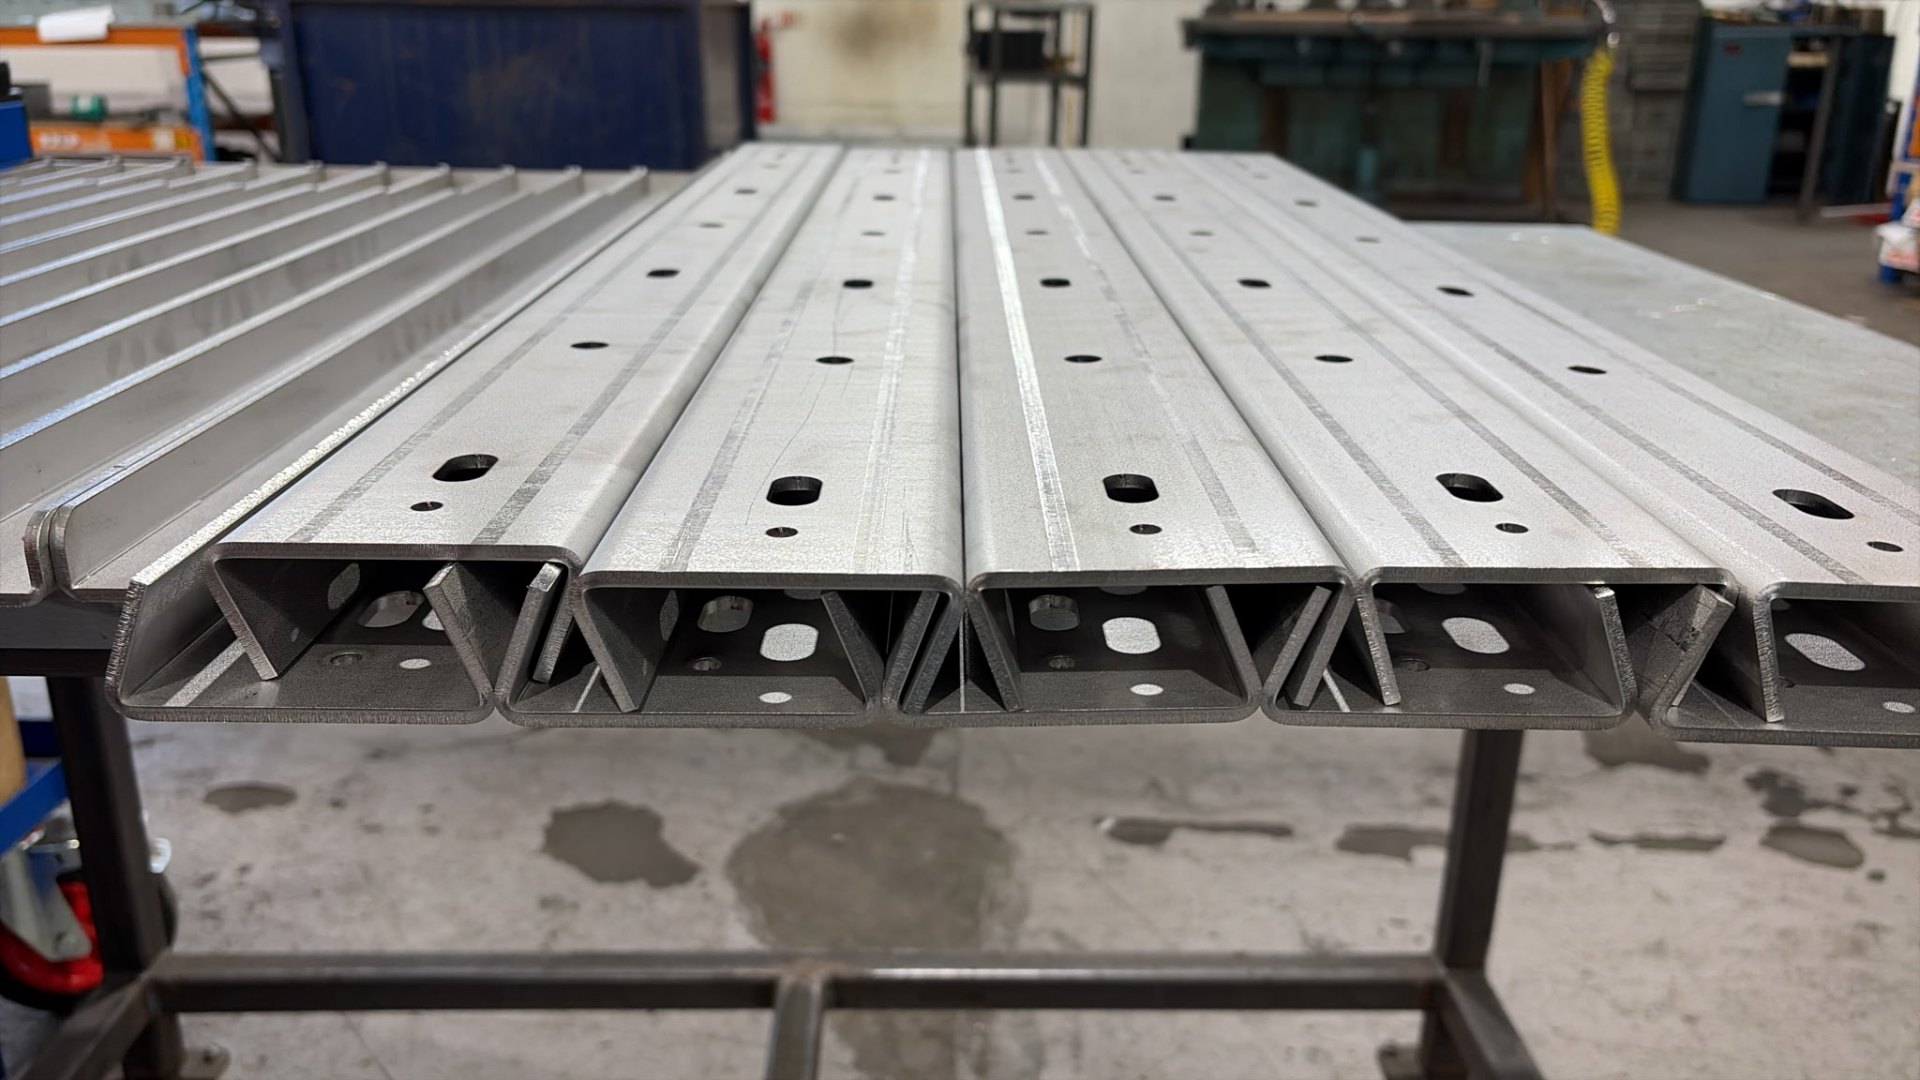
Fixing holes and slots set at 150mm centres for resin anchor installation.
And below, one of our covers with countersunk holes. When assembled, each takes a colour-coded screw that sits flush to hide all the fixings for a clean, finished look on the wall.
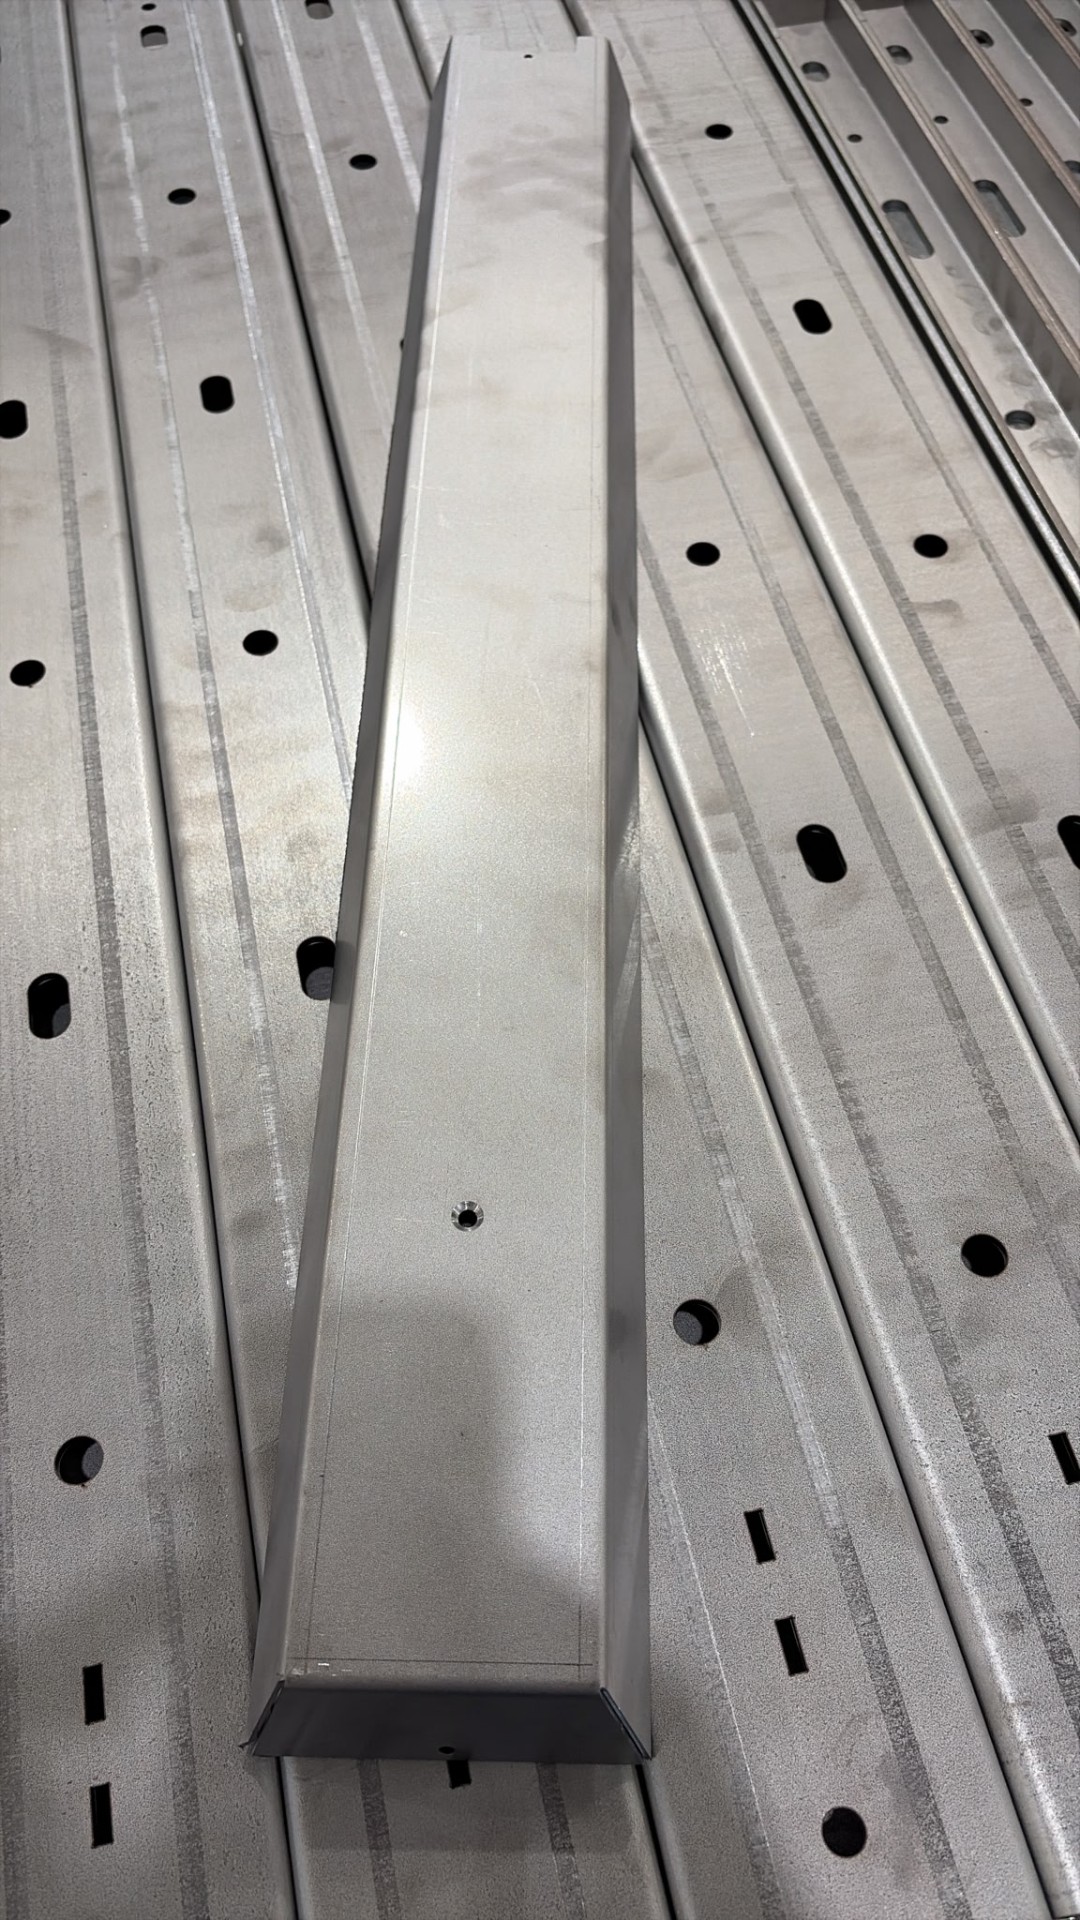
Cover profile with countersunk holes for flush, colour-coded screws.
Next in the series: welding. We’ll follow the same batch as formed profiles become finished, fully welded brackets.